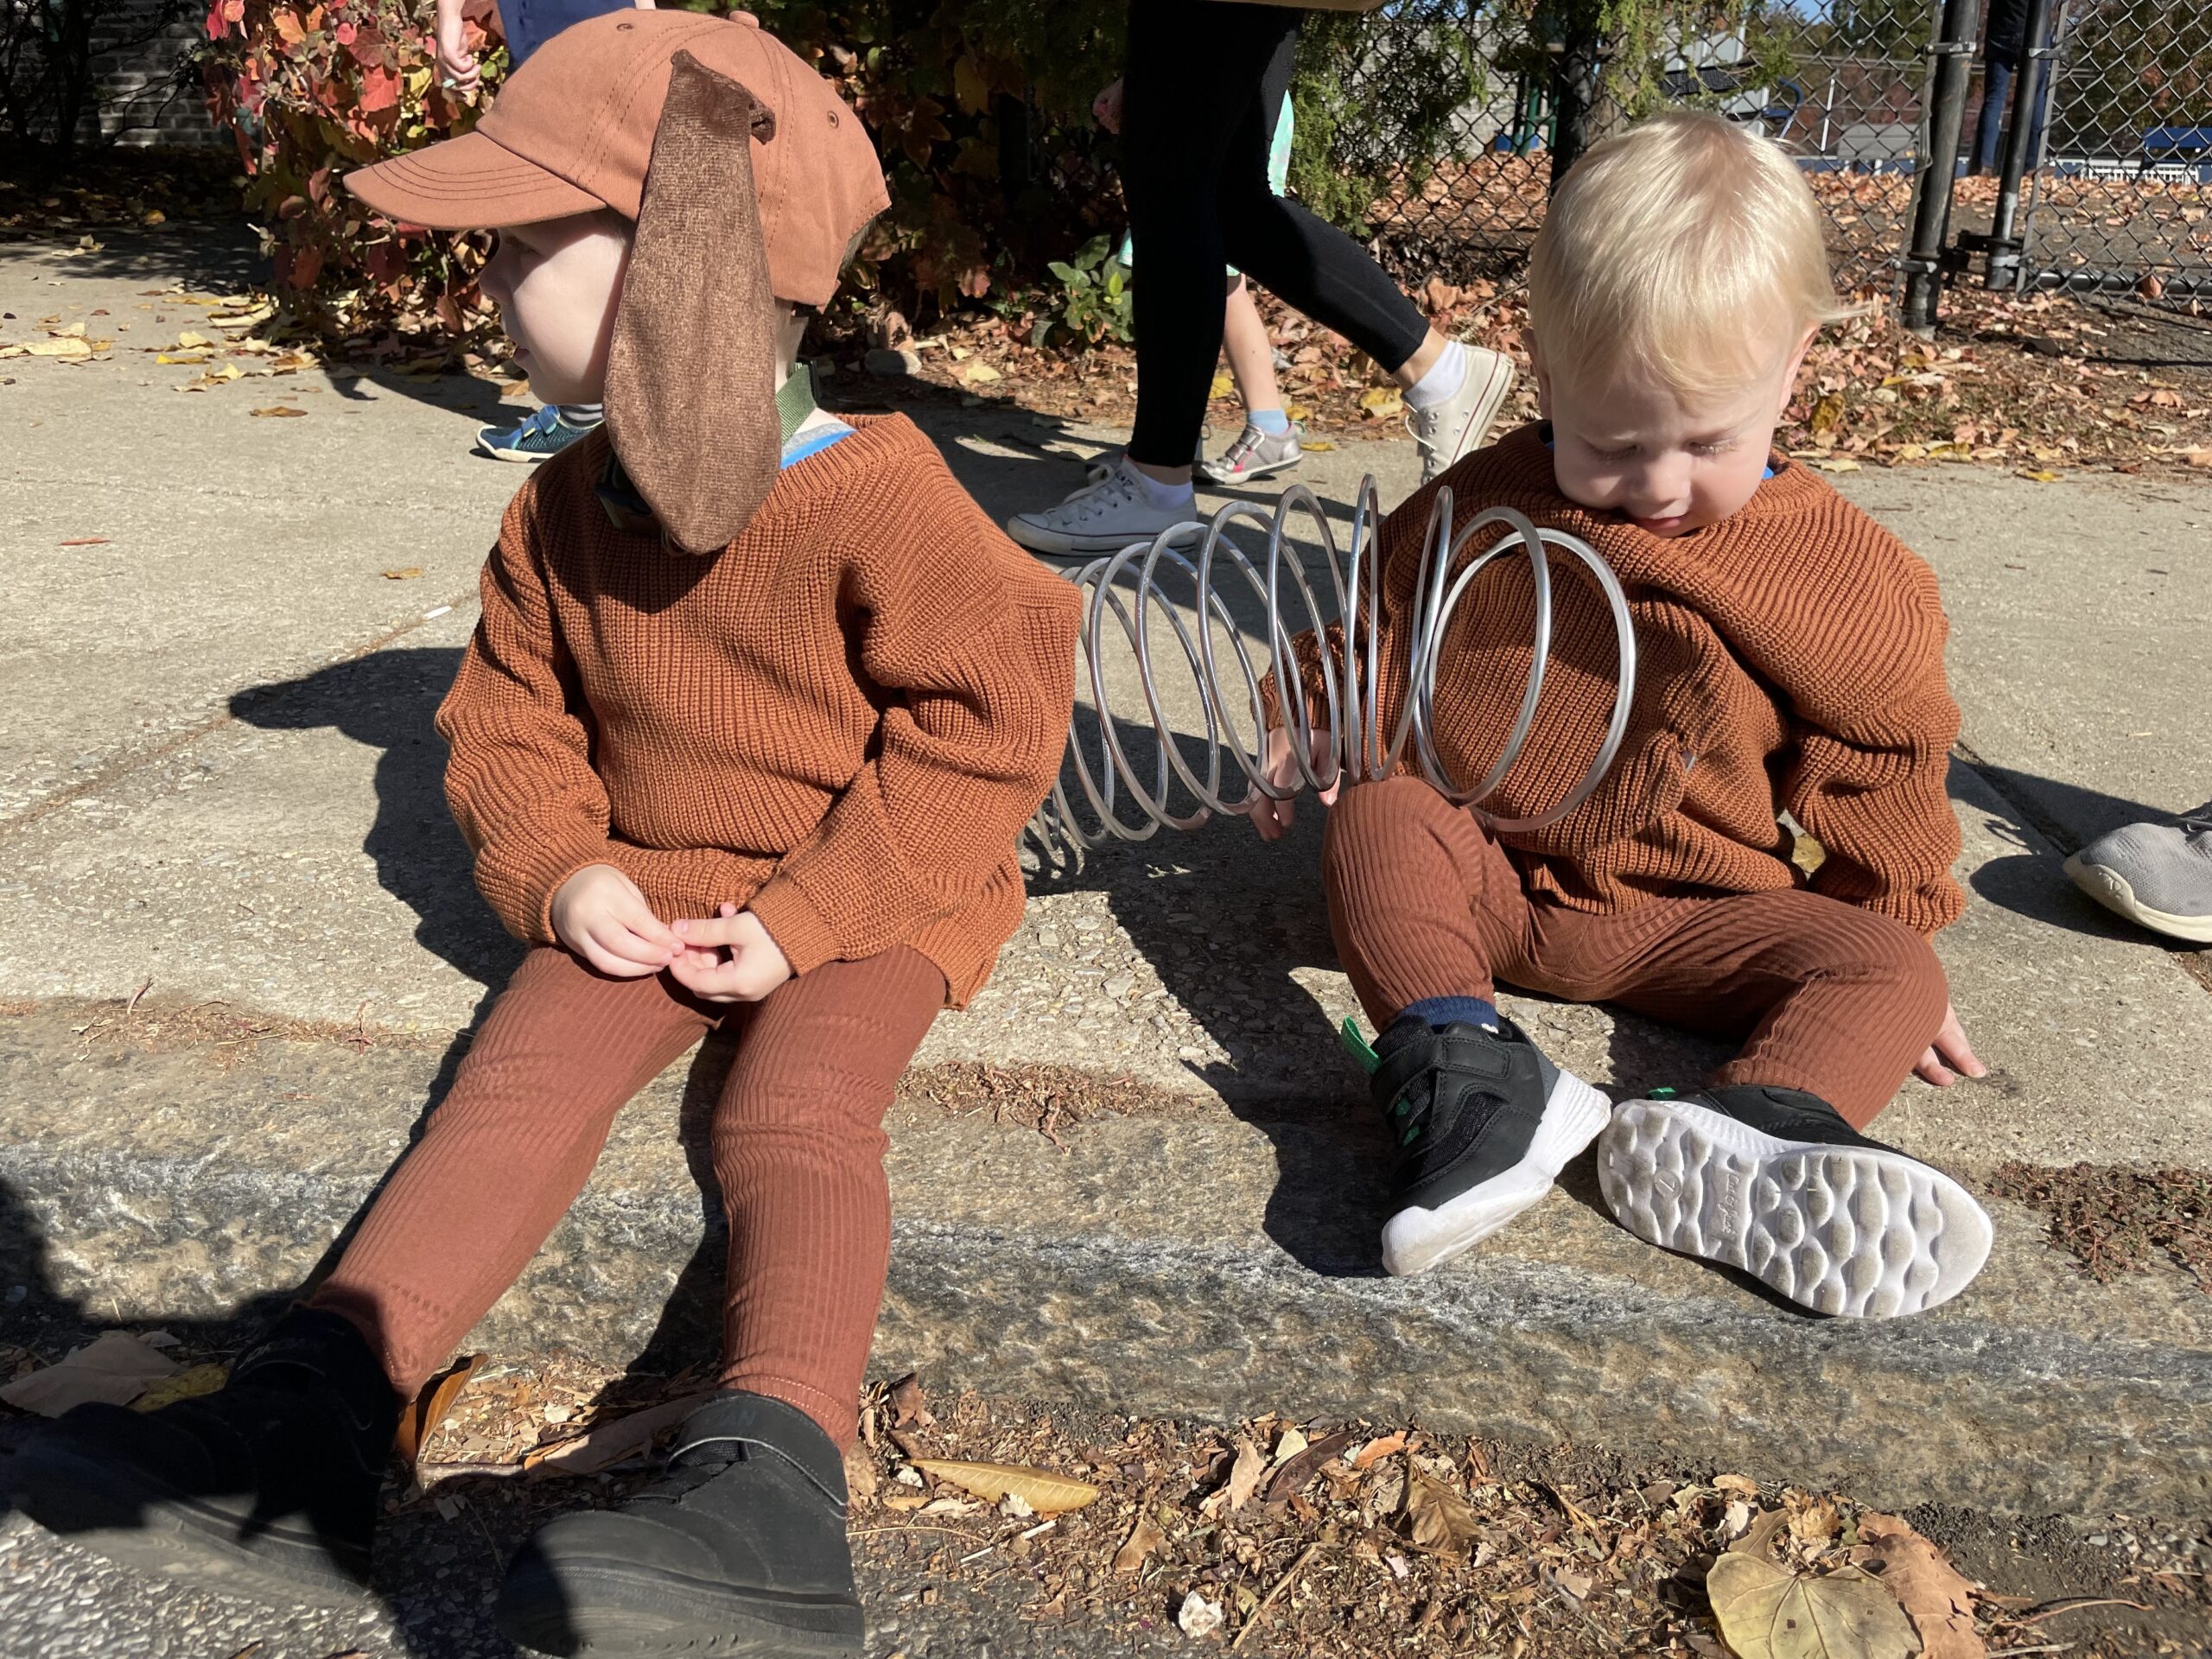
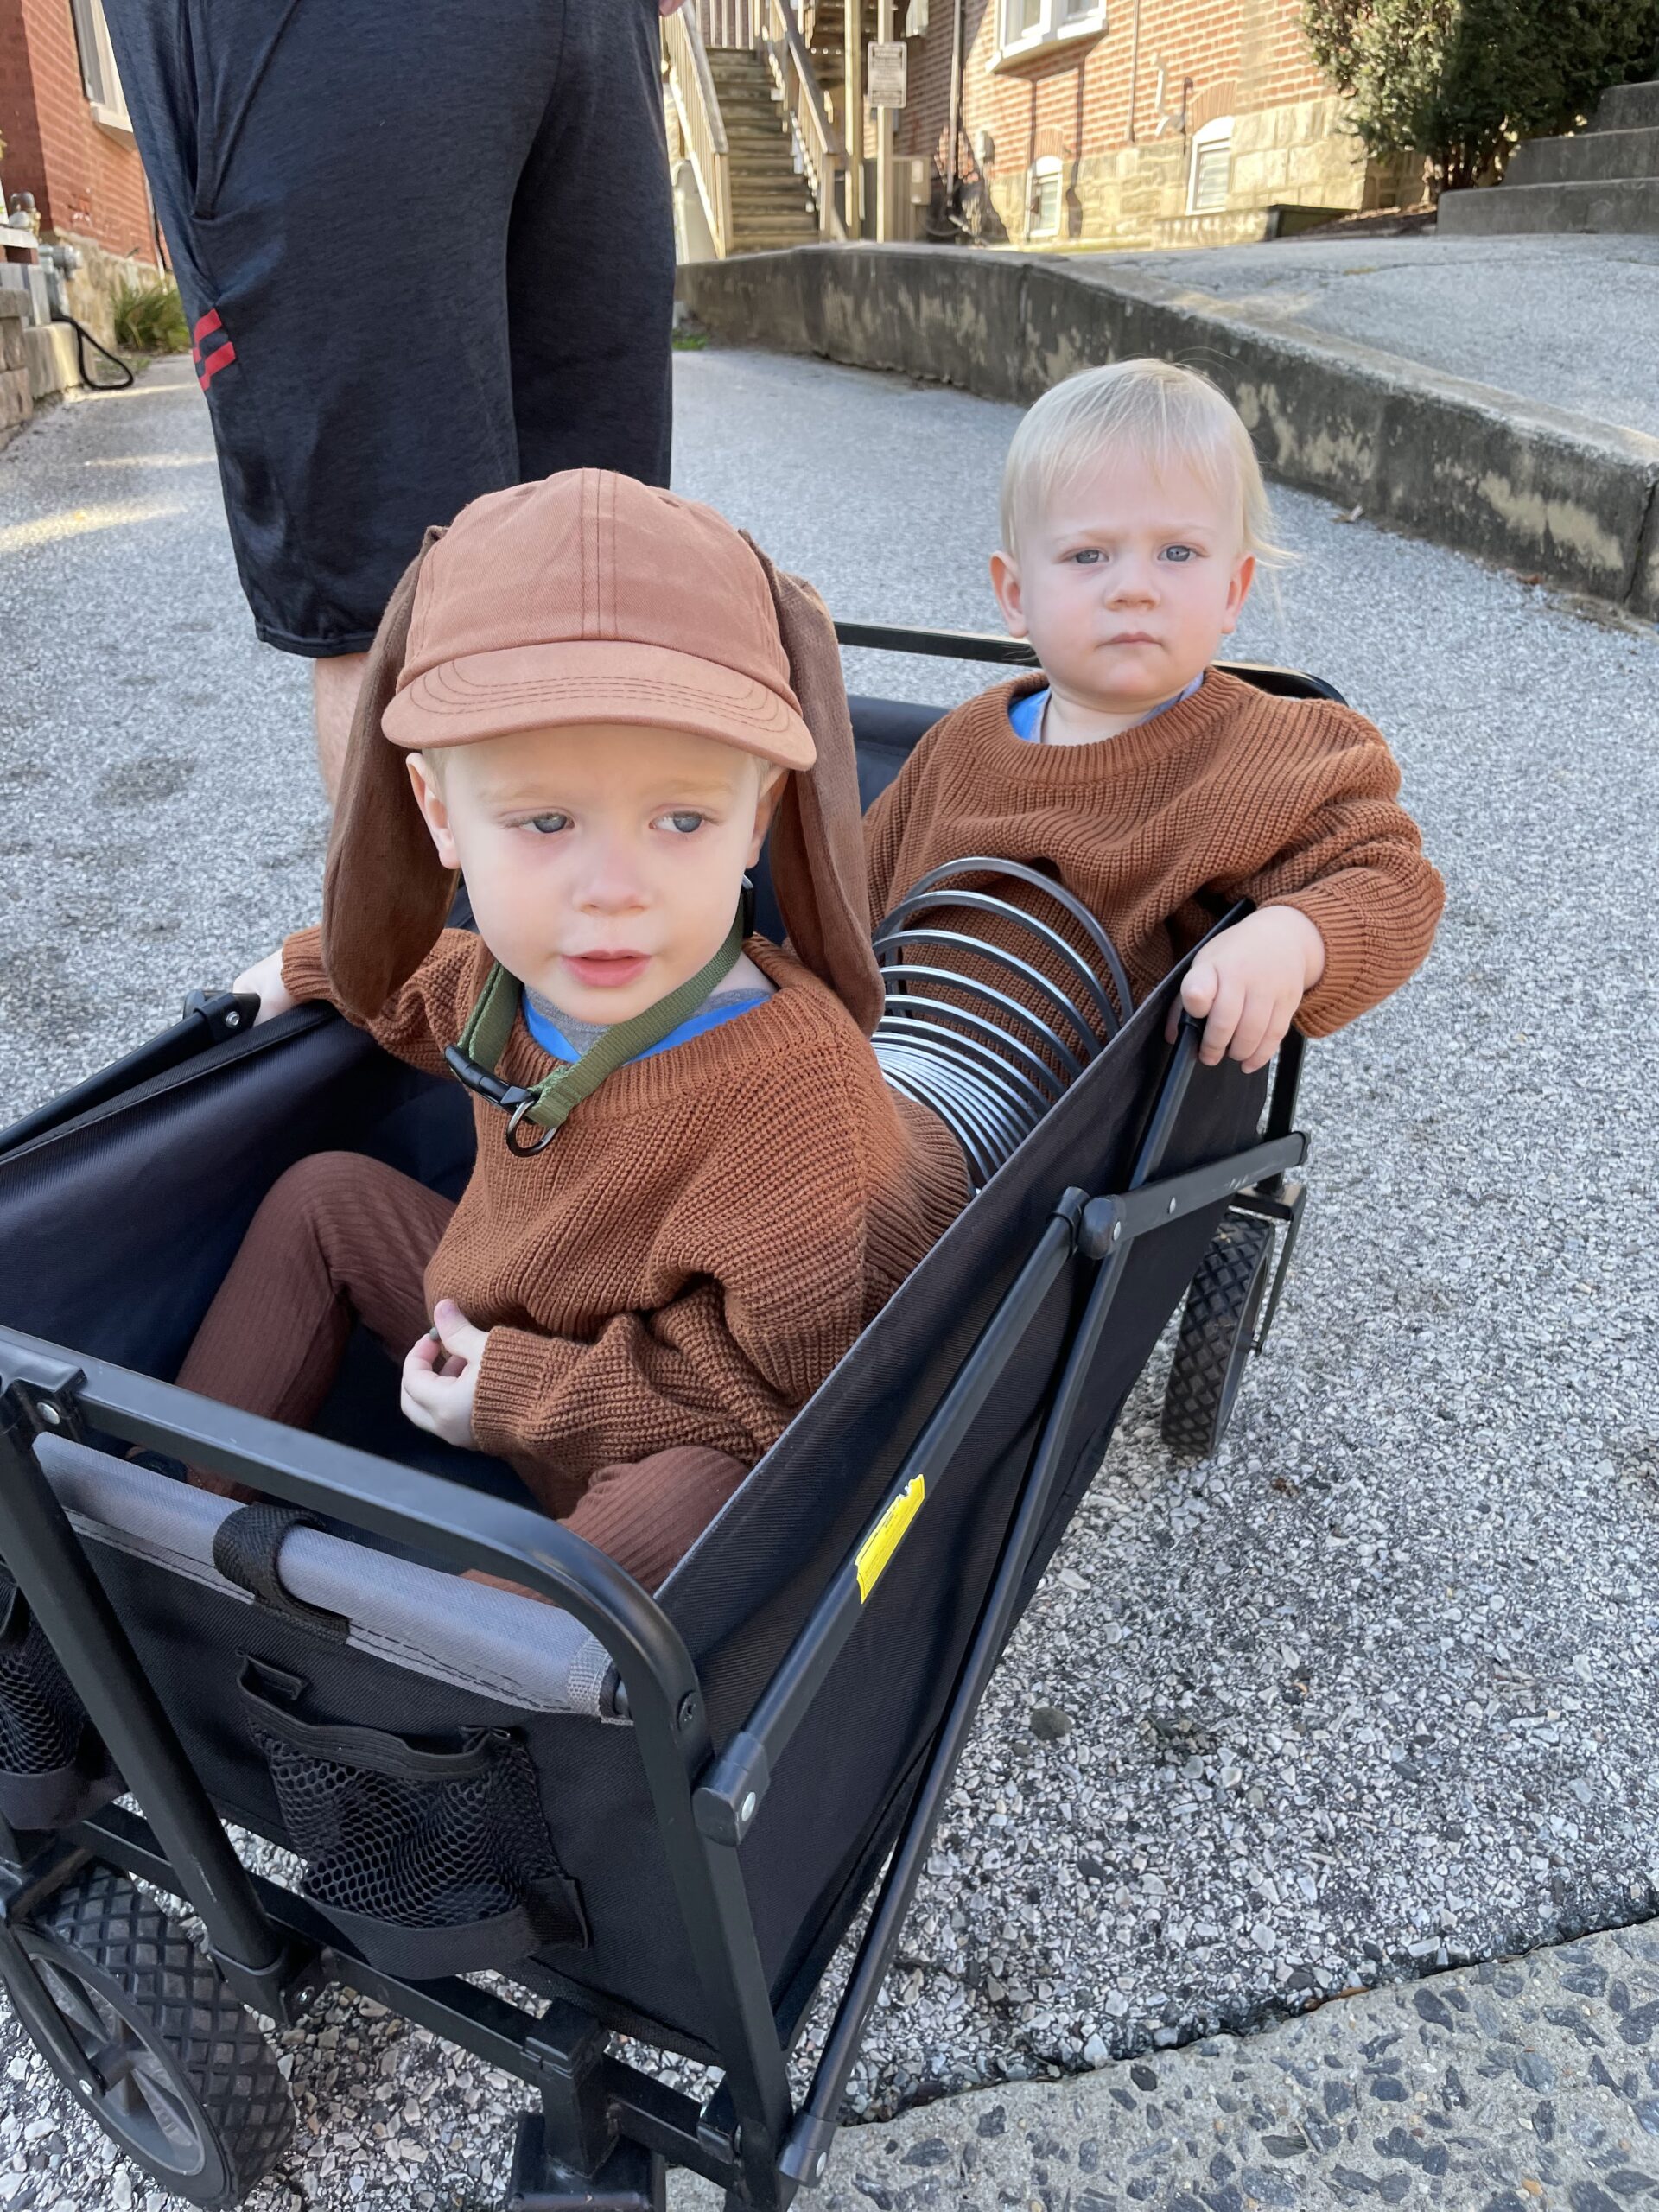
My Fave DIY Halloween Costume for Toddlers: Slinky Dog!
3 years and 1 baby ago 😉 I was finally emerging from the postpartum fog with my second born. As Fall rolled in, I had the itch to start a new project (which, to be fair, happens a few times a month) and decided to tackle homemade family costumes for Halloween. I was crafty. I was creative. How hard could it be??!
While the process humbled me quickly, I’m so glad I made the effort because I mean come on, how cute was the final product?! Granted, it felt like an emotional roller coaster within a few hours trying to get these costumes holiday-ready, but I was still so proud of myself and these pictures bring back some really sweet memories. If you want to try your hand at our DIY Toy Story costume, scroll down for some details and inspiration to get you started.
As a 2 under 2 mom at the time (and now a 3 under 4 mom LOL) keeping my kids close together while trick-or-treating or at our local Halloween parade was paramount. With 2, we could still manage man-to-man coverage, but I loved that their slinky dog costume kept them physically together.
As with most creative endeavors, there’s room for some artistic license here, so adapt to your kids’ preferences as you see fit. Always check and monitor for potential safety issues. And if you buy your costumes or recycle them from last year? You go, mama. Love that for us.

These basics brought Slinky Dog to life:
- 1 Jumbo Slinky and 1 small Slinky (any color- we’re gonna spray paint them anyway)
- Brown sweaters for kids (Halloween was cold that year so I went with a thick knit sweater, which also allowed me to feed the slinky through the sweater easily without having to cut it.)
- Puppy dog headband (I deconstructed this for other parts of the costume, so check notes for how you could skip this item if you wanted)
- Brown hats (we had these already, and my boys preferred them over wearing a puppy dog headband)
- Green dog collar
- Brown sweatpants or leggings
- Weldbond
- Craft Glue
- Velcro roll with adhesive on one side
- *Knowing what I know now – I would add cardboard for a cardboard structure underneath the sweater*
Before you get started, watch the reel of my process from start to finish. It’s about a minute and will ensure the steps below actually make sense! And one major hiccup I ran into was a sagging Slinky, so I ended up using some string and tape to hold the Slinky up. In hindsight, a cardboard structure underneath the sweater probably would have helped a lot.
Done watching? Read on!
- Spray paint your slinkies silver. I did this outside on top of some deconstructed cardboard boxes from our recycling bin.
- Cut off the ears from the headband and sew to the hat (or if your kid likes the headband, skip this step and just use the headband!)
- Use the headband as the structure for the tail and sew to pants. (See notes for alternative if actually wearing the headband.)
- Attach small Slinky to tail with Weldbond at top and bottom of tail and clamp to dry (I used a giant paper clip.)
- Once dry, turn the first sweater inside out. Gently feed the first ring of the jumbo slinky through the knit of the belly of the sweater. The rest of the slinky should sit inside the sweater. Secure with Velcro. I added Weldbond for extra security on the adhesive side of the Velcro that held it to the slinky.
- Gently turn sweater right side out. The majority of the slinky should look like it’s sitting on the belly of this sweater now!
- Line up the second sweater right side out making sure the belly is facing the slinky (should look like a sweater-slinky-sweater sandwich.)
- Working from the inside of sweater #2, feed the other end of the slinky through the knit. Once one coil is inside the sweater, attach velcro (using Weldbond for extra security if you want.)
- Time for a costume fitting!
Notes:
-If the “head” of your slinky dog costume wants to wear the headband, you could buy a second one to use as the tail, or sew a small tail with brown fabric scrap (old t shirt, anyone?) and some stuffing (cotton balls might work in a pinch.) Pipe cleaners could be twisted into a tail and covered with fabric, as well.
What are your favorite ways to create Halloween magic? Share your completed DIY costumes (or attempts 😂) with us on IG @mamamode.app 🫶

MAMA MODE | OCT 13, 2025 | DIY PROJECT


